It was almost exactly one year ago to the day that Jane and I set about transforming our kitchen into a vast pickling operation, slicing ripe and ready cukes and embalming them with a wicked vinegar/salt/dill/pepper/clove brew (details shared here). Twelve months on, we're still enjoying them and have several jars still safely brining.
Continuing this stroll into the past, one of my recent posts concerned my desire to allow food items to drift into their natural state of rot - a manifesto of sorts on the virtue of decay and one kind of sustainability. So, why not continue this train of thought and examine two additional methods used in coaxing green materials to extend their life and general usefulness - namely, the art of drying and the art of preserving.
Now comfortably settled into our new place of residence a few miles inland, our front and back yards have begun offering up the bounty promised us by our landlord when we first eyed the place in early winter 2009. Any number of fruit trees have started producing rapidly ripening produce, their branches nearly sagging due to the weight. We aren't the only ones noticing the upcoming harvest, though. Neighborhood squirrels have moved their chattering battalions into enemy territory, and one particularly beautiful-yet-not-quite-ripe peach has gone down in masticated defeat. It was time to bring on the offensive and declare fruit-picking season.
However, one can only consume so many nectarines in one sitting, as my wife well knows from several memorable and uncomfortable childhood encounters. Likewise, perfectly ripened fruit, once off the branch, tends to move too rapidly into that realm of rot I've been loudly praising. So there we were, with a bushel or a peck of nectarines quickly inching past their prime.
The answer, we agreed, lay in dehydration, or, more poetically, food drying. Lacking appropriate equipment, Jane looked about various San Diego merchants before concluding that food drying ranked astonishingly low on the list of Things To Do In San Diego Before You Die. Tanning booths, tattoo parlors, real estate opportunities, dog walking operations - they proliferate in this tacky, migratory land. But a simple contraption for drying sliced fruit, picked herbs or fresh fish? Take that back-to-the-land crap, well, back to the land.
While we by no means exhausted the local opportunities for food dehydrators (I'm guessing Escondido's Country Store had one), it was left up to the good folks of the Walla Walla Valley in eastern Washington to plug this particular gap. Passing through during my road trip to points north, my mother-in-law calmly pointed me in the direction of food dehydrators at a local Bi-Mart, assuring me they were as common and as easy to find as chapstick and AA batteries in this agricultural region bisected by Mormon and Seventh Day Adventist communities. It was packed into the back seat and bumped along 395 towards home.

It was a remarkably simple operation. The nectarines were sliced as the dehydrator was assembled....


....and individual slices were placed in concentric rings along the plastic rack.


Soon, one level was filled.....

...so we moved on to another.....

....before turning the heat up and covering with the lid.

And how's this for being detail-oriented? The cast-offs and non-sliced nectarine chunks were gathered up and placed inside a food processor to be whizzed into a thick fruit paste....


The little guy chugged along, surprisingly quiet, throughout the night. Next morning, I dismantled the racks and found a nice haul of dried nectarines.


Take that, squirrels.
...and weighed 2 1/4 pounds exactly.

We chose the "whole fruit approach" for our marmalade, merely slicing off the little top nubbins and giving the lemons a good scrub before placing them whole inside a boiling pot of water for nearly two hours, until the fruit was soft enough to be easily punctured by fork tines.

This might be the time to bore you with a brief history / semantics lesson. "Marmalade" is a specific English term for any food preservation efforts utilizing citrus. Other fruits are labeled jams (fruit pulp) or jellies (thickened juice only), which is why we speak of, say, strawberry jam but grapefruit marmalade. The iconic British jar of orange marmalade, made from bitter Seville oranges, is actually a Scottish invention dubbed "Dundee Marmalade," hailing from the northeast coast of Scotland in the late eighteenth century. Prior to this time, "marmalade" referred to a type of quince-based candy. In 1770, so the story goes, a man named James Keiller bought a large amount of oranges being sold at surprisingly cheap prices, thinking to make an easy profit through his own business. What he discovered was that the oranges had been sold cheaply due to their remarkable bitterness, which left them nearly inedible. It was Keiller's wife who suggested turning the bitter oranges into a quince-like marmalade, which the Keiller Company stills does to this day, with many variations on the original. Which means we owe our morning dollop of bittersweet orange marmalade to Mrs. Keillor's belief that one should "waste neither oranges nor money".


The lemons were removed and allowed to cool before being sliced and removing the seeds. Sugar and honey was added and the concoction was brought to the requisite rolling boil.


....and individual slices were placed in concentric rings along the plastic rack.


Soon, one level was filled.....

...so we moved on to another.....

....before turning the heat up and covering with the lid.

And how's this for being detail-oriented? The cast-offs and non-sliced nectarine chunks were gathered up and placed inside a food processor to be whizzed into a thick fruit paste....

....and poured into an additional rack to create a small piece of fruit leather (fleather?).

The little guy chugged along, surprisingly quiet, throughout the night. Next morning, I dismantled the racks and found a nice haul of dried nectarines.


Take that, squirrels.
...............................................................................................................................................
Part Two: To Preserve
The flip side to drying, one might argue, is pickling and/or preserving. We've been down this road before, too, but armed with a newly-purchased book by Pam Corbin called The River Cottage Preserves Handbook inspired us to venture beyond the ways of grape jelly (the fact that we left our concord grape vines behind us in Ocean Beach might be another reason). Corbin's recipes are distinctly British, and while certain recipes may be a little out of our reach (hedgerow jelly, for example), the English mastery of preserves and pickles was inspiring. Having never tried our hand at marmalade, the several variations outlined in the book led me to eye our small yet astonishingly productive lemon tree just outside the kitchen door. As an added bonus, citrus fruits come ready-packed with natural pectin, so we wouldn't need to thicken the batch with any store-bought packets. And with plenty of sugar in the pantry and just enough honey to complete the recipe, we could create 7 jars of marmalade without spending a dime.
So, I made the arduous trek to the lemon tree (limoncello tree, to be exact)....

...and weighed 2 1/4 pounds exactly.

We chose the "whole fruit approach" for our marmalade, merely slicing off the little top nubbins and giving the lemons a good scrub before placing them whole inside a boiling pot of water for nearly two hours, until the fruit was soft enough to be easily punctured by fork tines.

This might be the time to bore you with a brief history / semantics lesson. "Marmalade" is a specific English term for any food preservation efforts utilizing citrus. Other fruits are labeled jams (fruit pulp) or jellies (thickened juice only), which is why we speak of, say, strawberry jam but grapefruit marmalade. The iconic British jar of orange marmalade, made from bitter Seville oranges, is actually a Scottish invention dubbed "Dundee Marmalade," hailing from the northeast coast of Scotland in the late eighteenth century. Prior to this time, "marmalade" referred to a type of quince-based candy. In 1770, so the story goes, a man named James Keiller bought a large amount of oranges being sold at surprisingly cheap prices, thinking to make an easy profit through his own business. What he discovered was that the oranges had been sold cheaply due to their remarkable bitterness, which left them nearly inedible. It was Keiller's wife who suggested turning the bitter oranges into a quince-like marmalade, which the Keiller Company stills does to this day, with many variations on the original. Which means we owe our morning dollop of bittersweet orange marmalade to Mrs. Keillor's belief that one should "waste neither oranges nor money".
If seville oranges are bitter, so are lemons, which is why the recipe works rather interchangeably, save for the addition of honey at the expense of two of the ten cups of sugar required.


The lemons were removed and allowed to cool before being sliced and removing the seeds. Sugar and honey was added and the concoction was brought to the requisite rolling boil.


After ten minutes or so, we began testing to see if our brew had reached the setting point - the period in which the sugars, fruit and pectin have begun to coalesce into a thicker substance once the sample has cooled. This can be somewhat tricky to determine.


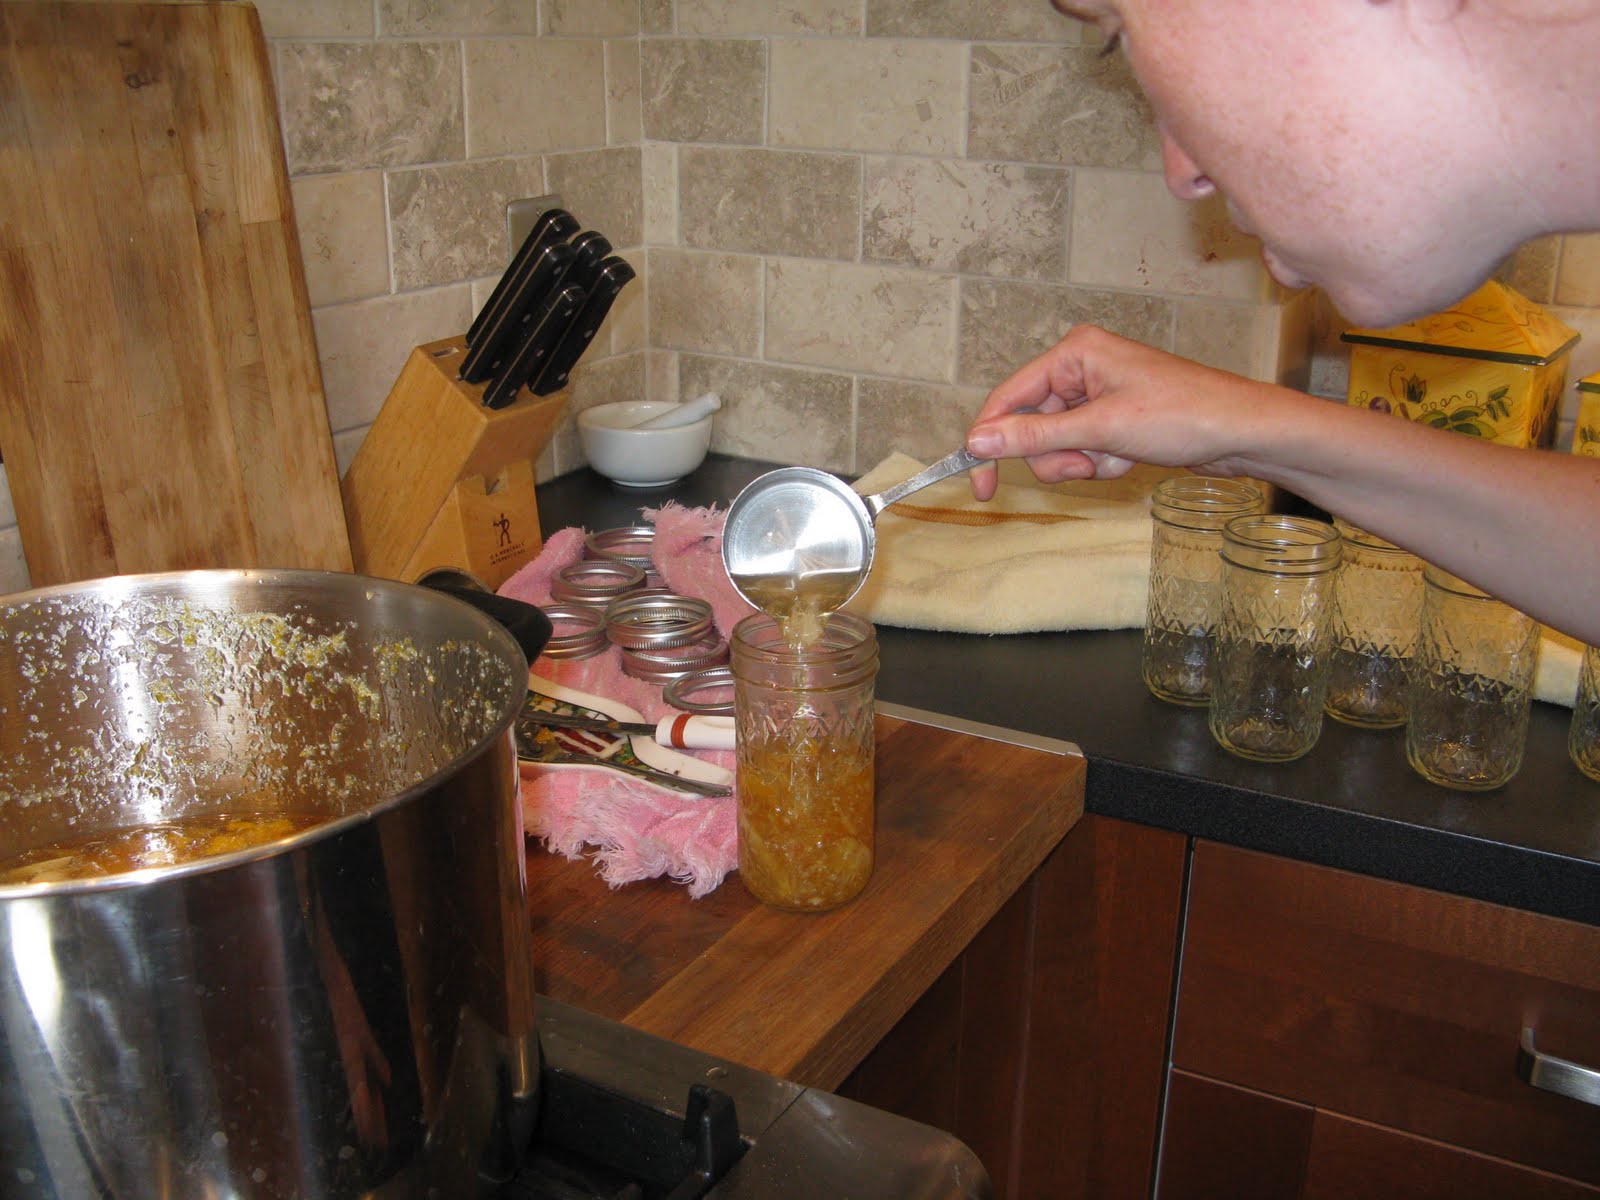
However, we were soon satisfied by the setting point, and began to ladle the fruit into sterilized canning jars.....

...and carefully prepping them for no-holds-barred preservation.


...and carefully prepping them for no-holds-barred preservation.


After a quick bath in boiling water, the jars were removed to cool on a towel, and we soon heard that sound beloved by all home preservers - the thwuck of the jars sealing themselves. It never gets old.

We had a little left over that didn't make it into the jars, so we've been sampling that over the past few days, spreading it inside crepes, dolloping it on top of Greek yogurt, or simply eating it, British-style, from the spoon. Seven jars, good for two years. The art of preservation lives on.
..............................................................................................................................................................
Bonus: footage of the moment of thwuck.


1 comment:
Ok, I have stove envy. Two ovens makes my single oven Viking Professional look a bit sad. Also, yours looks very much more clean than mine...hm. Congrats on the success of your preservation efforts!
Post a Comment